Arielle
I'm member of Tutorial Writers Inc

Original tutorial can be found here

Material

tubes – alpha layer – script-restricted
record the script “Vivi 0213”in the special file (scripts-restricted) of My PSP Files
open the elements, copy and paste them as new images
and minimize the originals
Thank you to the tubers : Athenais – Christin – Corinne Vicaire
Filters used
AAA Foto Frame
Tramages
Penta.Com
Mura’s meister
BKG Kaleidoscope
Transparency
Colors palette
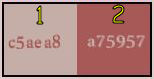
Use the paintbrush to follow the lines
Grab it with the left click of your mouse

|
Realization
open the alpha layer « arielle », duplicate it and close the original
we will work on the copy
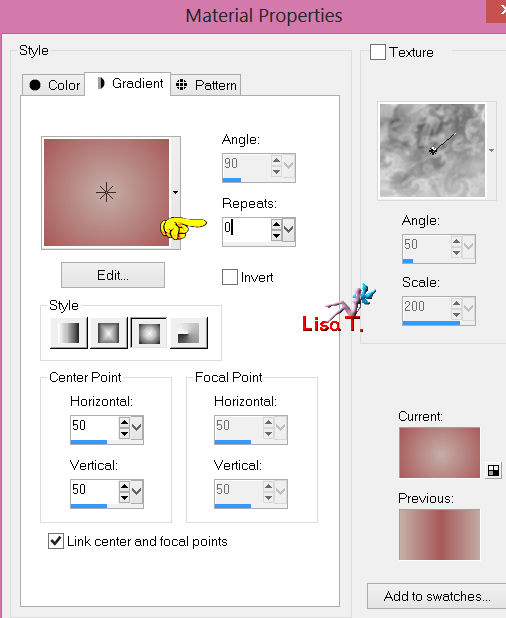
prepare a sunburst gradient, color 1 as foreground, color 2 as background
and paint the alpha layer
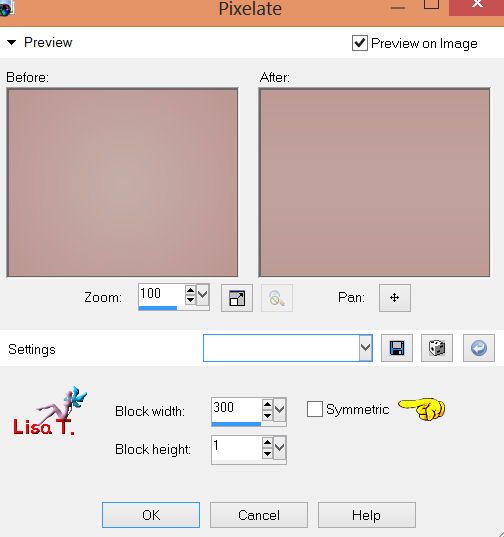
effects/distortion effects/pixelate
layers/duplicate
image/free rotate

effects/plugins/BKG Kaleidoscope/Cake Mix
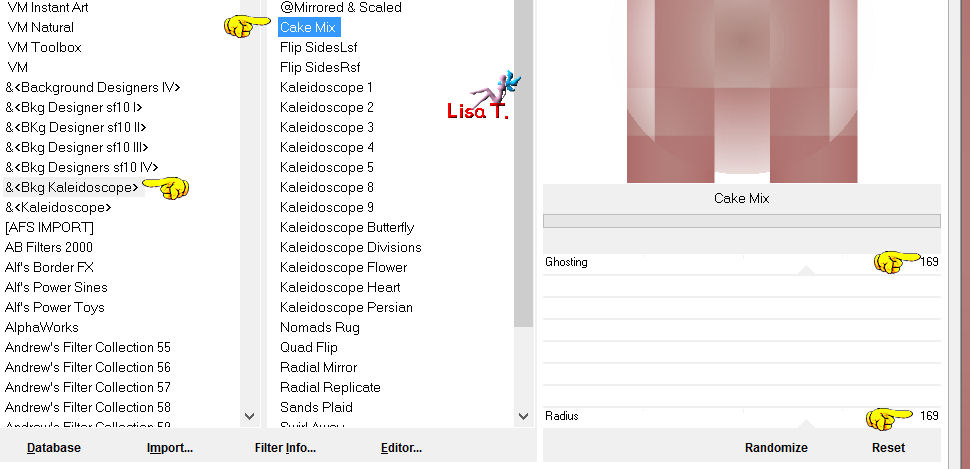
effects/plugins/Transparency/Eliminate White
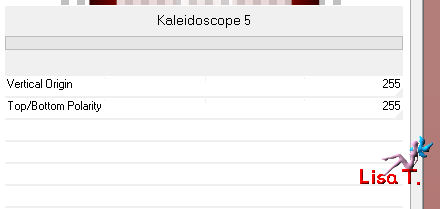
effects/plugins/BKG Kaleidoscope/Kaleidoscope 5
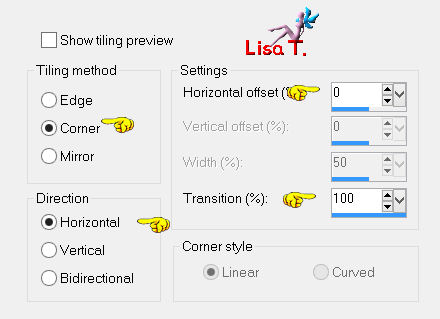
effects/image effects/seamless tiling
in the layers palette, adjust the blend mode to “overlay”, opacity : 100%
layers/duplicate – adjust the blend mode to “multiply”, opacity : 75 %
activate the background layer (raster 1)
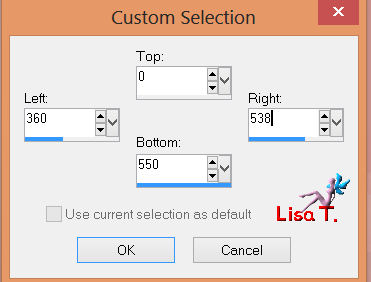
activate the selection tool / rectangle /custom selection
selections/promote selection to layer, and select none
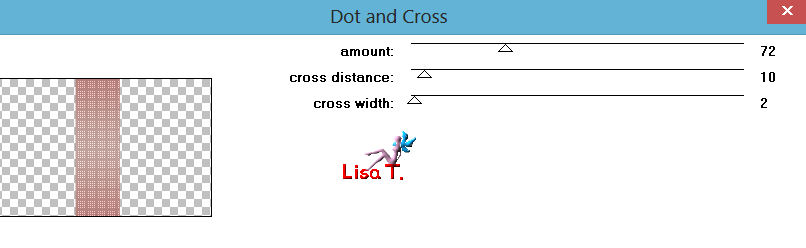
effects/plugins/Penta . Com/Dot and Cross
run the script-restricted “Vivi 0213”
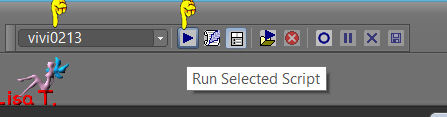
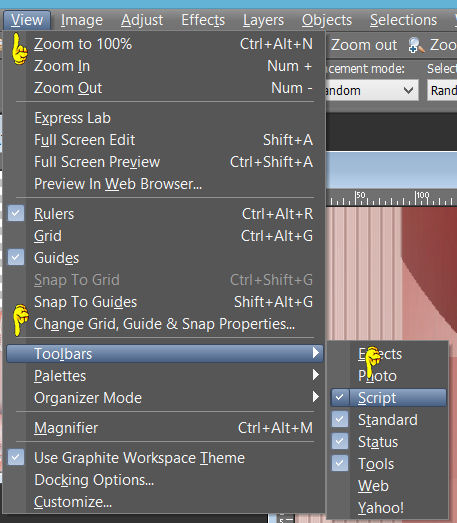
if you don’t have this toolbar, you can find it that way :
*(if you cannot run the script because your PSP is a previous version
(tutorial realized with psp12)
you must download that ZIP in which you will find all the screenshots (1 to 4)
showing you the effects step by step..)*
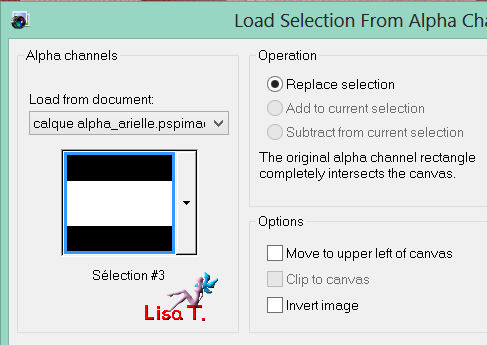
selections/load-save selection/load selection from alpha channel (selection #1)

press the DELETE key of your keyboard
selections/invert
effects/3D effects/drop shadow : 0 / 0 / 30 / 20 / black, and select none
layers/new raster layer
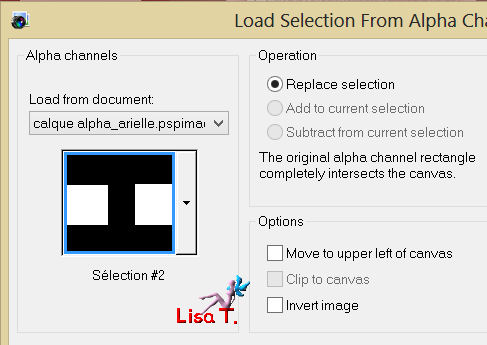
selections/load-save selection/load selection from alpha channel (selection #2)
activate the tube “Christin Misted Blumen82010”, copy and paste into selection
set the blend mode of the layer to “screen” or “soft light” (or other)
opacity : 100%
change the blend mode and/or the opacity according to your tubes and colors.
effects/edge effects/enhance (if necessary)

layers/new raster layer
selections/invert : paste the tube into selection once more
set the blend mode of the layer to “soft light” or “darken” (or other), opacity : 100%
(change the blend mode and the opacity according to your tubes)
selections/select none
activate the background layer (raster 1)
effects/plugins/Tramages/Wire Mesh (default settings)
layers/merge/merge visible
selections/load-save selection/load selection from alpha channel (selection #3)
selections/promote selection to layer
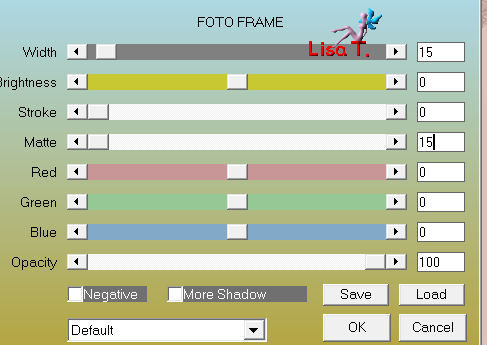
effects/plugins/AAA Frames/Foto Frame
selections/select none
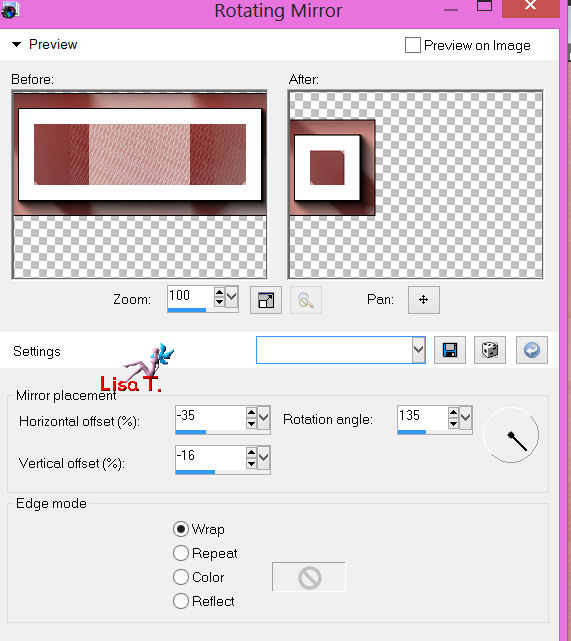
effects/reflection effects/rotating mirror
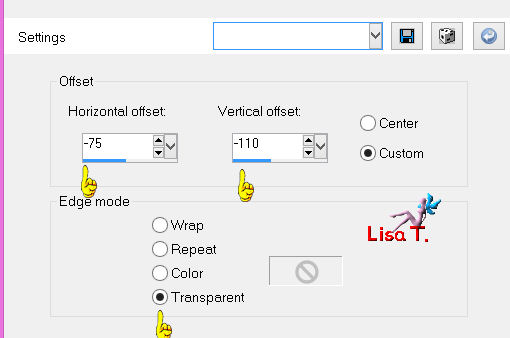
image/mirror – effects/image effects/offset
selections/load-save selection/load selection from alpha channel (selection #4)
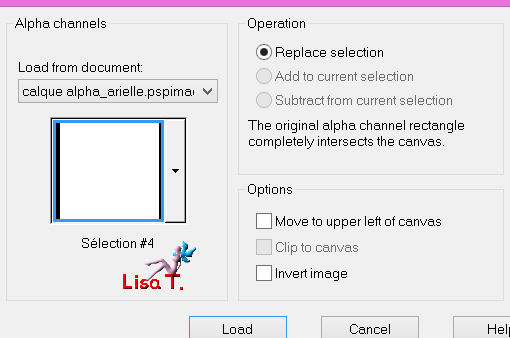
edit/cut, and select none
edit/paste as a new layer
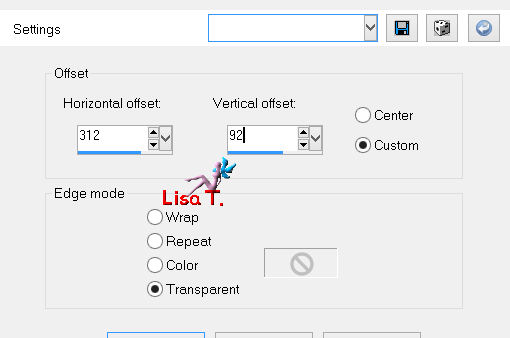
effects/image effects/offset
layers/duplicate – image/flip
layers/merge/merge down (twice, to obtain only 1 layer with the 3 frames)
effects/3D effects/drop shadow : 10 / 0 / 50 / 5 / black
and merge visible
selections/load-save selection/load selection from alpha channel (selection #5)
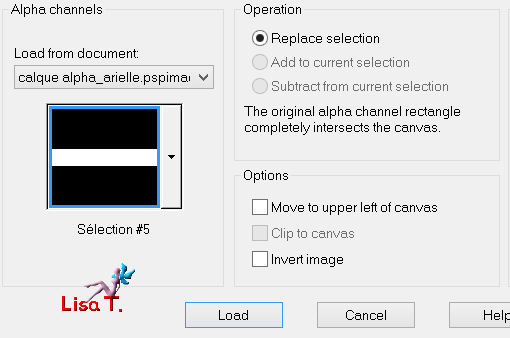
selections/promote selection to layer
effects/plugins/Mura’s Meister/Perspective Tiling (default settings)
selections/select none
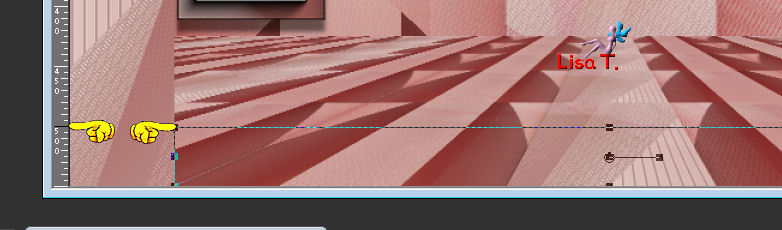
activate the Pick Tool (mode : scale) and lower the layer to 500 on the vertical ruler
adjust/softness/soften more
activate the tube “deco_vivi”, copy and paste as a new layer
don’t move it
set the blend mode of the layer to “luminance Legacy”, opacity : 100%
layers/merge/merge visible
image/add borders/2 pixels/color2
image/add borders/2 pixels/color 1
image/add borders/60 pixels/color 2
with the magic wand (default settings), select the large border
effects/plugins/Penta.Com/Dot and Cross (default settings)
effects/plugins/AAA Frames/Foto Frame

effects/3D effects/Drop shadow : 0 / 0 / 75 / 35 / black
selections/select all
selections/modify/contract : 30 pixels
effects/3D effects/drop shadow : 0 / 0 / 75 / 35 / black, and select none
activate the tube “athe FM519”, copy and paste as a new layer,
move it as shown on the example
effects/3D effects/drop shadow : 48 / -35 / 50 / 11.80 / black
activate the tube “Corinne Vicaire vase 33”
image/mirror - resize it to 40%, copy and paste as a new layer
move it as shown on the example
drop shadow as you like
layers/new raster layer : apply your signature
layers/merge/merge all
image/add borders/2 pixels/white
resize your tag if you like, and save as ... type JPEG
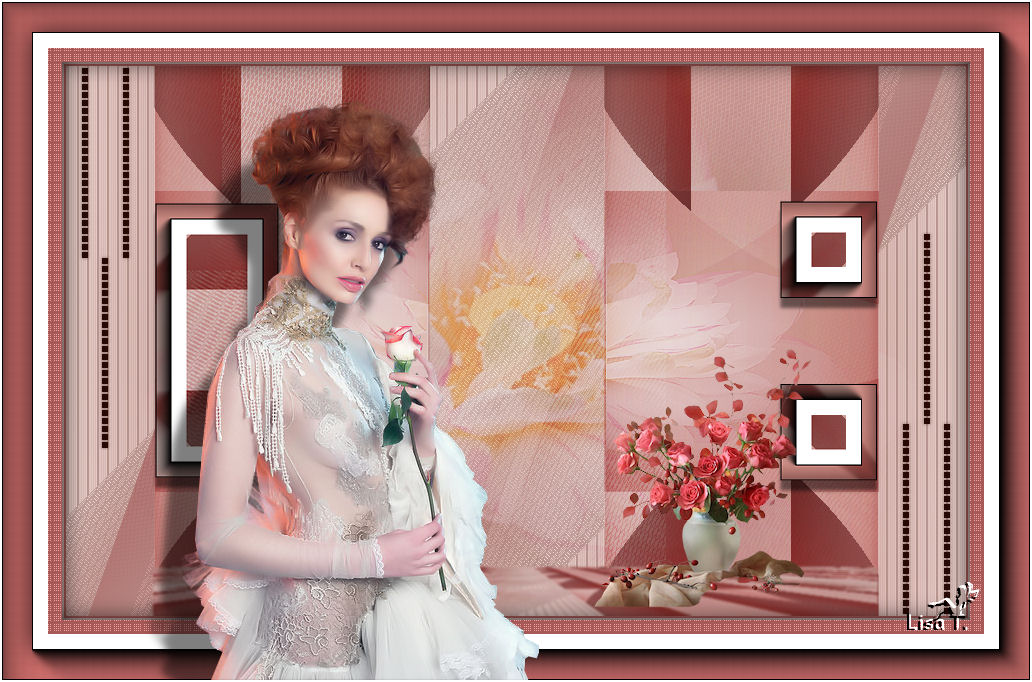
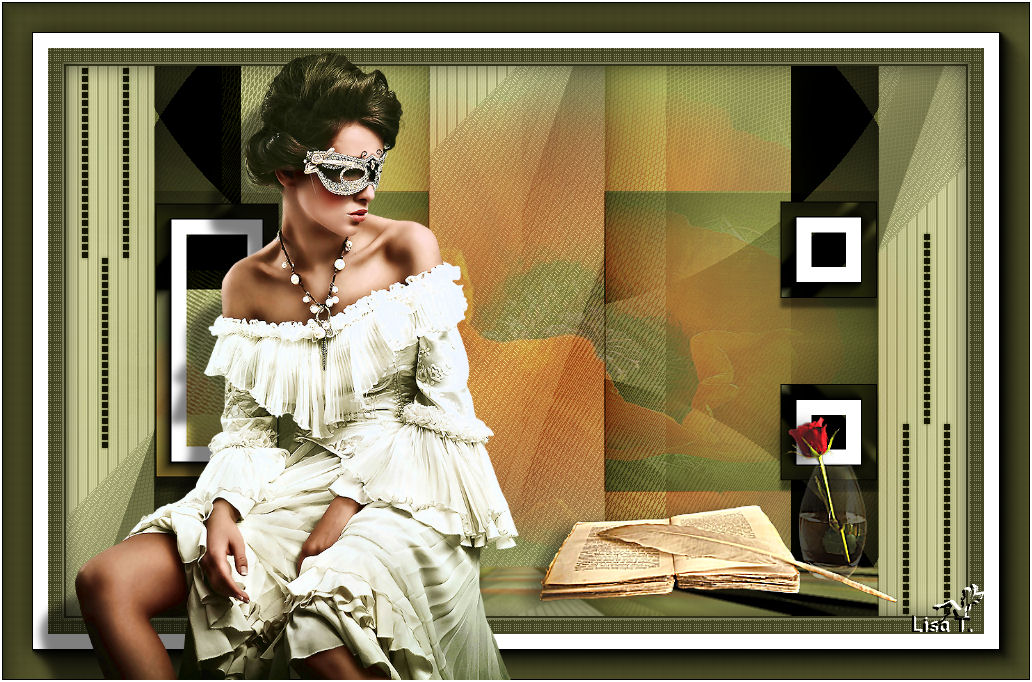
Here is my try with my tubes
If you want Vivi to present your tag in her gallery, don’t hesitate to send it to her
 mail to Vivi mail to Vivi
If you have any trouble with this tutorial, don't hesitate to write to Vivi or to me
mail to Lisa T.
Back to the boards of Vivi's tutorials
board board 2 board 2

|