Recklessness
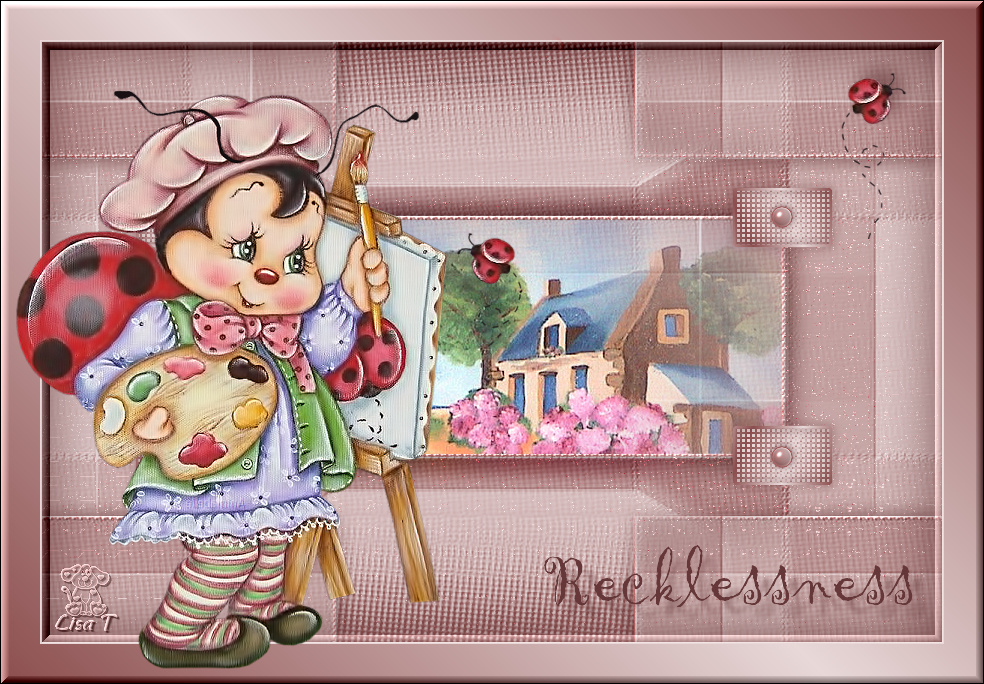
You will find the original tutorial here

This tutorial is a personal creation.
Any resemblance with another one would be only pure coincidence.
It is stricly forbidden to modify tubes, to change their
name or take off the matermarks,
To present them on your sites or blog,
To share them in groups,
to make a bank of images, or to use them on lucrative purposes.

Thank you to respect Animabelle’s work and the tubers
work.
Don’t hesitate to warn me if you have any trouble
with this translation


Material
selections - mask - tubes

open all images, duplicate them, and work with the copies
to preserve original images
copy / paste selections into your « selections » folder
of Corel PSP general folder
open mask and minimize it to tray

Filters (plugins) used
user defined filter
AAA Filters
BorderMania
Thank you Renée Salon for sharing your plugins’ page
 
use the pencil to you follow the steps
hold down left click of your mouse to grab it and move it

 
Important
Open all images with PSP, duplicate them and close the
originals.
Never work on original images.
Animabelle and I work with PSPX9
but you can follow this tutorial with another version of
PSP.
The results might be slightly different according to the
version of PSP you use

Colors
Don't hesitate to change the colors and the blend mode
of the layers,
according to your tubes and images.

realization
1
don’t forget to save your work often
using PSP X4 and following versions of PSP : function « Mirror » and « Flip » have
been replaced
« Mirror » has become : Mirror -> Mirror horizontal
« Flip » has become : Mirror -> Mirror vertical
2
with the dropper tool, pick up 3 colors into your tubes
Animabelle chose these colors
colors 1 -> ForeGround color -> 1 #8c4e4e
color 2 -> BackGround color -> #e8d8d8
color 3 -> #653738
open a new transparent image 900 * 600 pixels
flood fill with color 1
layers -> new raster layer
flood fill with color 2
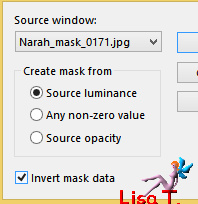
layers -> new mas layer -> from image -> mask « Narah_mask_0171 »
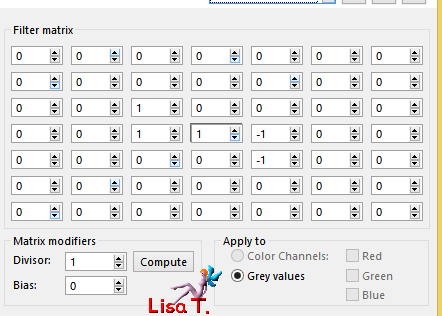
effects -> user defined filter -> Emboss 3
layers -> merge -> merge visible
3
activate selection tool -> rectangle -> custom selection

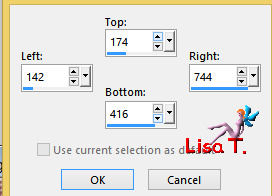
selections -> promote selection to layer
selections -> modify -> select selection borders
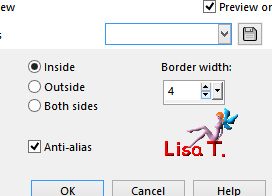
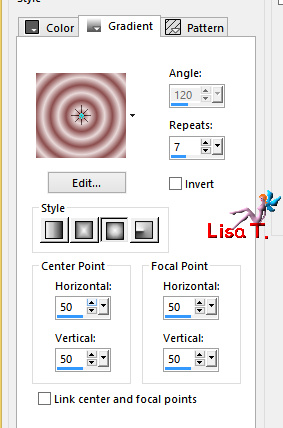
flood fill with the following sunburst gradient
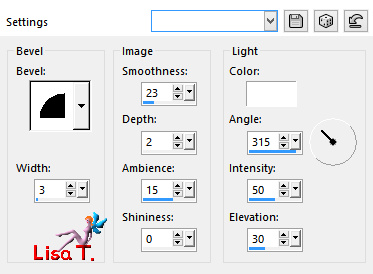
effects -> 3D effects -> inner bevel
selections -> select none
4
layers -> duplicate
highlight layer underneath (original layer)
effects -> image effects -> seamless tiling / default
settings
effects -> 3D effects -> drop shadow -> 0 / 0
/ 85 / 30 / color 3
5
highlight top layer
activate selection tool -> rectangle -> custom selection

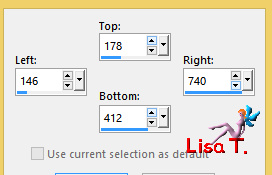
copy / paste as new layer « Paysage_Insoucience_Animabelle » (erase
the watermark)
image -> resize -> uncheck « resize all
layers » -> 85%
selections -> invert
edit -> cut
selections -> invert again
effects -> plugins -> AAA Filters / Custom -> press
on « landscape » and OK
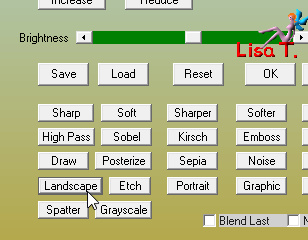
adjust -> sharpness -> sharpen
layers-> merge -> merge down
selections -> select none
6
layers - duplicate
highlight underneath layer (original)
adjust -> blur -> gaussian blur -> 15
layers properties -> blend mode : Multiply
layers -> merge -> merge visible
7
layers -> new rastser layer
selections -> load-save selection -> from disk -> selections « Linsouciance_Sel1_Animabelle »
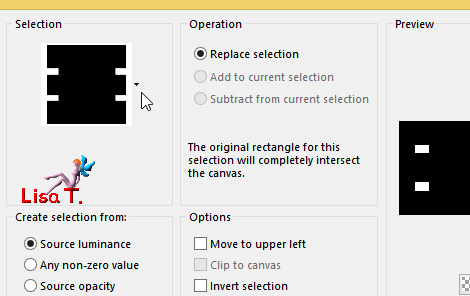
flood fill selection with the following sunburst gradient
effects -> texture effect -> weave
colors 1 and 2
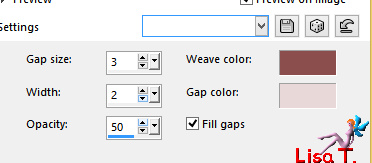
selections -> modify -> select selection borders
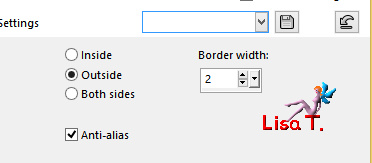
flood fill selection with the sunburst gradient
selections -> select none
effects -> 3D effects -> drop shadow -> 0 / 0
/ 100 / 15 / color 3
8
layers - duplicate
highlight underneath layer (original)
effects -> distortion effects -> wave

effects -> texture effects -> mosaic glass
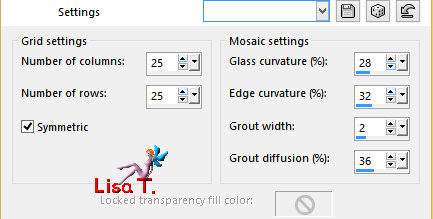
layers properties -> blend mode : Overlay
9
activate selection tool -> rectangle -> custom selection
same settings as before
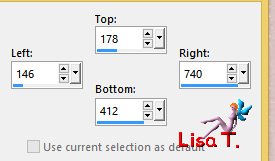
edit -> cut
selections -> select none
10
highlight top layer
layers -> new raster layer
selections -> load-save selection -> from disk -> selections « Linsouciance_Sel2_Animabelle »
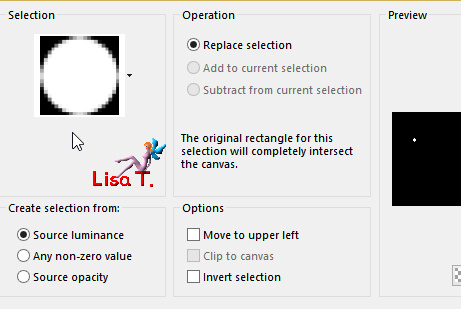
flood fill selections with color 1
selections -> modify -> contract : 1 pixel
flood fill selection with the following gradient
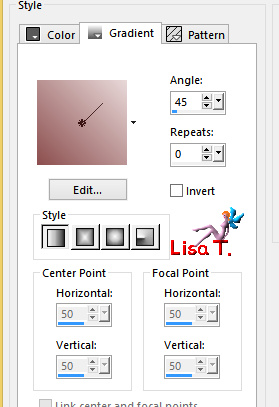
11
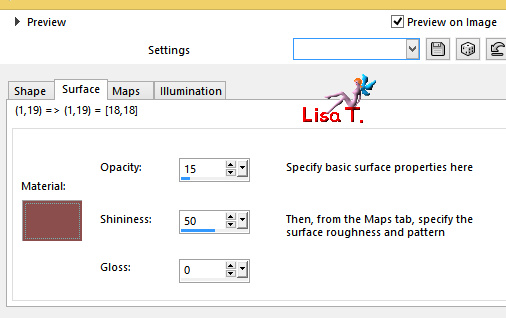
effects -> artistic effects -> balls and bubbles
with the following settings (see the 4 screenshots)
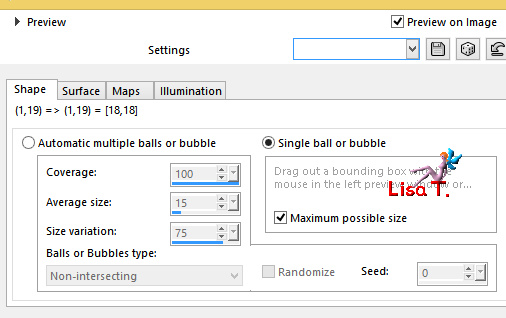
color 1
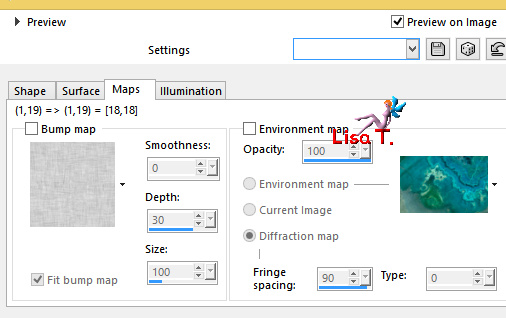
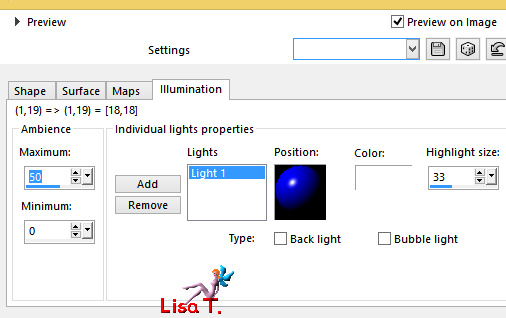
selections -> select none
layers -> duplicate
effects -> image effects -> offset -> 600 / 0
/ check « custom » and « transparent »
layers-> merge -> merge down
12
layers -> duplicate
effects -> image effects -> offset -> 0 / -240
layers -> merge -> merge down
adjust -> sharpness -> sharpen
effects -> 3D effects -> drop shadow -> -1 /
1 / 70 / 10 / color 1
layers -> merge -> merge all (flatten)
13
selections -> select all
effects -> 3D effects -> cutout / color 3
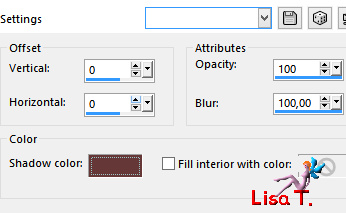
selections -> select none
14
image -> add borders -> check « symmetric » -> ...
2 pixels color 2
selections -> select all
image -> add borders -> check « symmetric » -> ...
40 pixels color 1
selections -> invert
flood fill selection with the following linear gradient
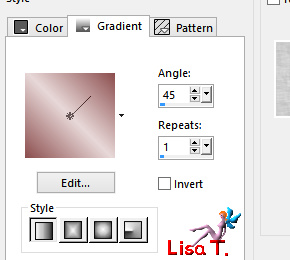
selections -> select none
effects -> plugins -> BorderMania / Frame #2
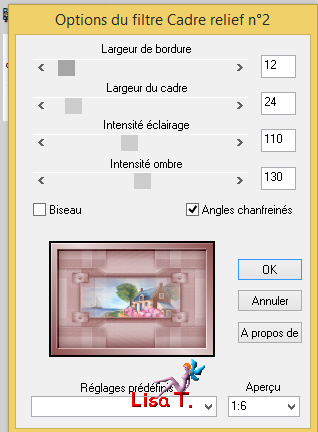
15
copy / paste as new lyaer « 166_tubes_enfantin_animabelle » (erase
the watermark)
image -> resize -> 75%
image -> mirror -> mirror horizontal
adjust -> shrapness -> sharpen
move the tibe bottom left
16
activate selection tool / point to point and select around
the ladybird
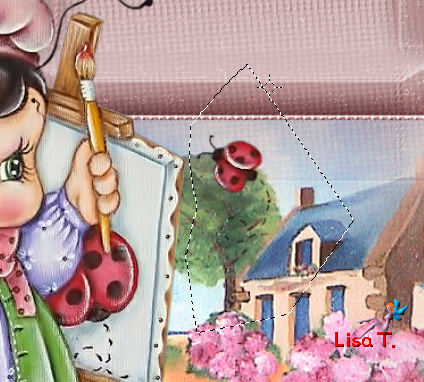
selections -> promote selection to layer
selections -> select none
move the duplicated ladybird top right (see final result)
(or elsewhere)
layers -> merge -> merge down
effects -> 3D effects -> drop shadow -> -11 /
11 / 70 / 30 / color 3
17
layers -> new raster layer
selections -> load-save selection -> from disk -> selections « Linsouciance_Sel3_Animabelle »
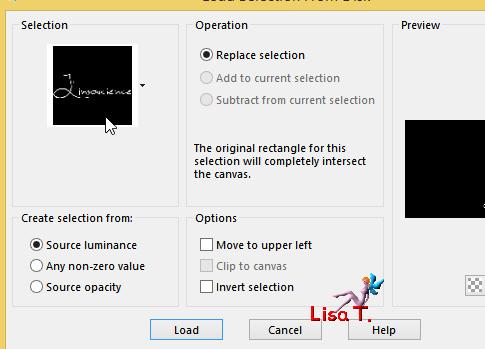
or write your own text as I did
flood fill with color 3
selections -> select none
effects -> 3D effects -> drop shadow -> -12 /
12 / 35 / 8 / color 3
18
layers -> new raster layer
apply your watermark
layers -> merge -> merge all (flatten)
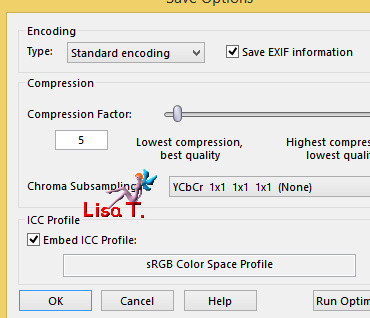
file -> export -> file type .jpeg, optimized
your tag is finished

Don't hesitate to write to Animabelle if you have any trouble
with her tutorial
or to me if you have any problem with my translation
To be informed about Animabelle’s new tutorials,
join her NewsLetter
If you create a tag (using other tubes than those provided)
with this tutorial
and wish it to be shown, send it to Animabelle !
It will be a real pleasure for her to add it to the gallery
at the end of the tutorial


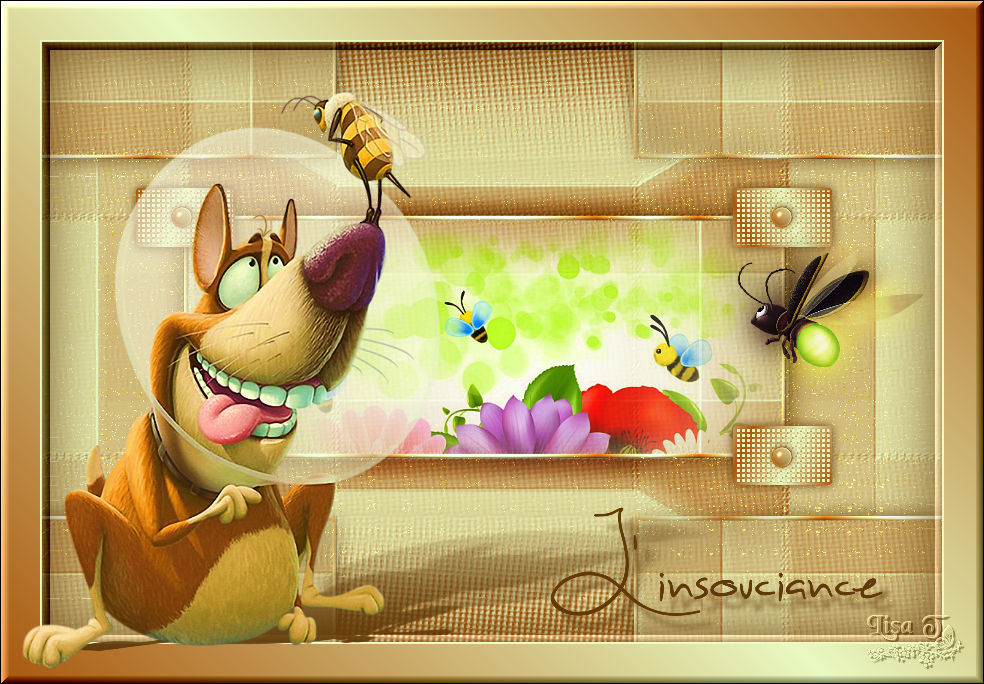
My version with my tubes
back to the boards of Animabelle’stutorials
board 1  board
2 board
2  board
3 board
3 

|