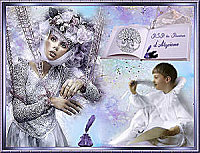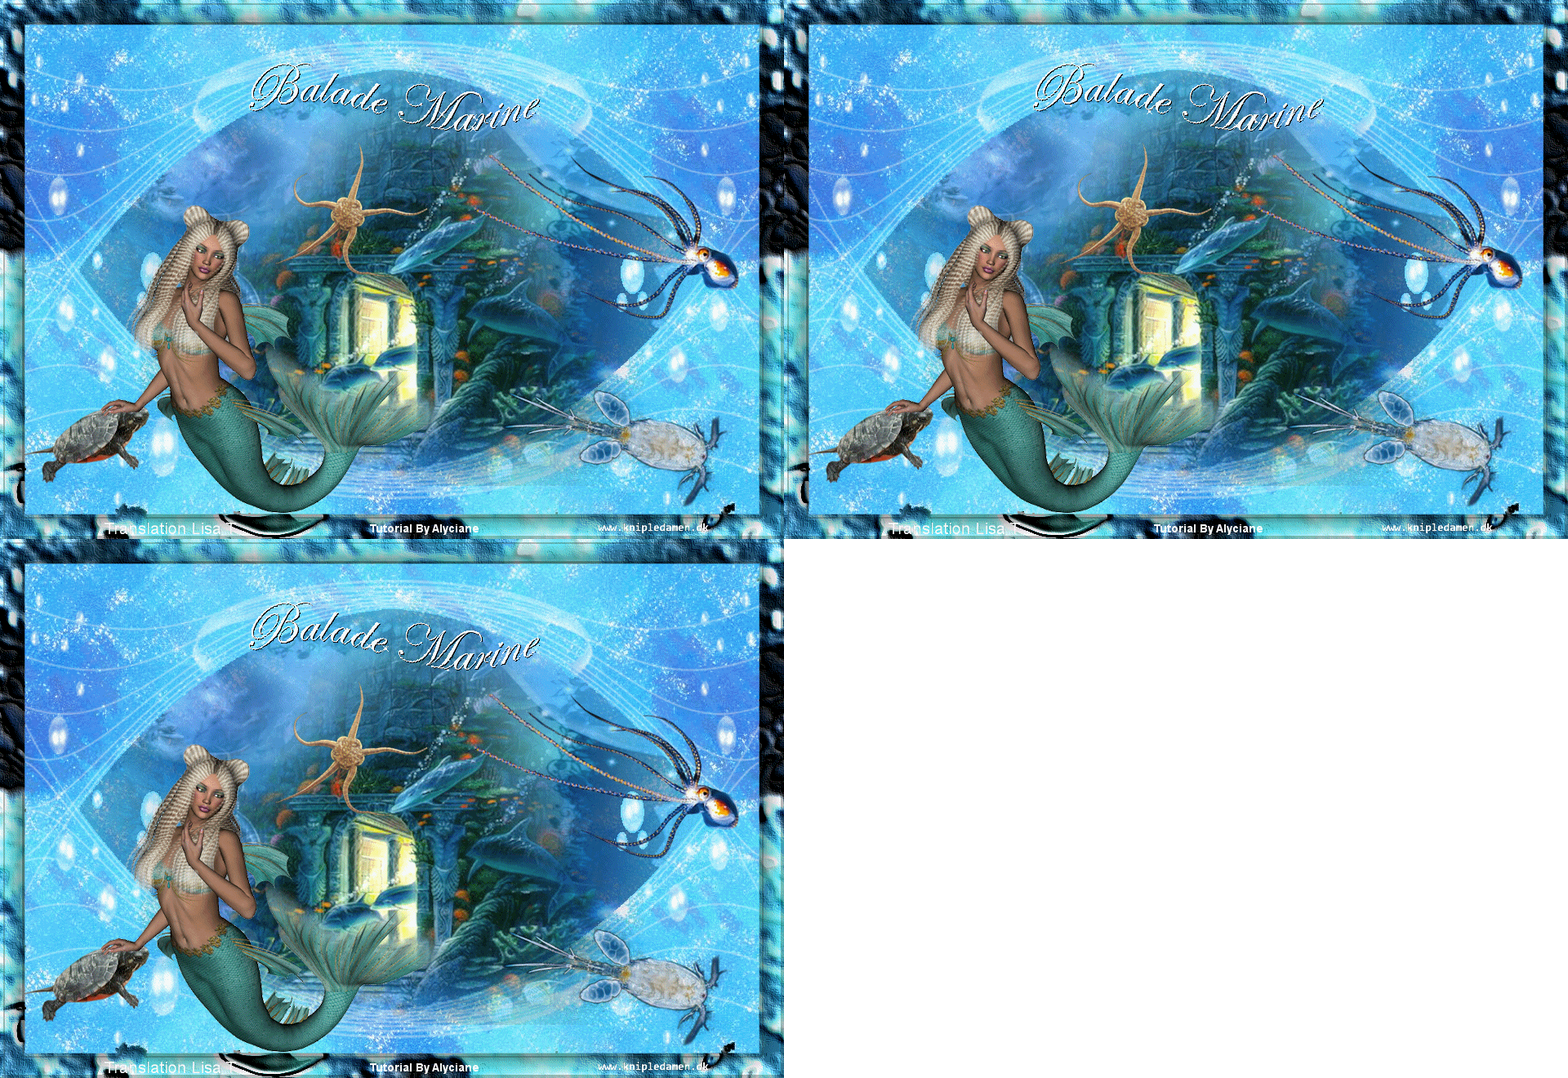

You will find the original tutorial here :

This tutorial is a personal creation.
Any resemblance with another one would be only pure coincidence.
It is stricly forbidden to modify tubes, to change their name or take off the matermarks,
To present them on your sites or blog,
To share them in groups,
to make a bank of images, or to use them on lucrative purposes.

Thank you to respect Alyciane’s work and the tubers work.
Don’t hesitate to warn me if you have any trouble with this translation,
and I’ll try to fix the problem as quickly as I can

Alyciane works with PSP 2020 and I work with PSP 2020 Ultimate
but you can follow this tutorial with another version of PSP, however the result might be slightly different

Thank you Garances for testing Alyciane’s tutorials

Supplies
Tubes & images – mask – alpha layer (selections saved on the alpha channel)

open the tubes, duplicate, close the originals, and work with the copies
double click on the preset to install or import
open the mask(s) and minimize to tray
TIP 1 -> if you don’t want to install a font -->
open it in a software as « Nexus Font » (or other font viewer software of you choice)
as long as both windows are opened (software and font), your font will be available in your PSP
TIP 2 -> from PSPX4, in the later versions of PSP the functions « Mirror » and « Flip » have been replaced by -->
« Mirror »has become --> image => mirror => mirror horizontal
« Flip » has become --> image => mirror => mirror vertical

Plugins needed
Virtul Painter 4
Animation Shop

Use the pencil to mark your place
along the way
hold down left click to grab and move it
 |

Realization
open the alpha layers => duplicate
work with the copy to preserve the original
selections => select all
copy / paste « fond » into selection
effects => image effects => seamless tiling => default settings
adjust => blur => gaussian blur => 30
effects => plugins => Virtual Painter 4
tick on “filter” then choose “Pastel”
tick on “material” and choose “Stucco (sand)”
layers => new raster layer
flood fill white
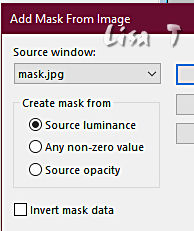
layers => new mask layer => from image

layers => duplicate
layers => merge => merge group
layers => new raster layer
selections => load-save selection => from alpha channel => selection # 1
copy / paste the landscape by Gabry into selection
selections => select none
copy / paste the mist by Kat as new layer
place all the decorations
when you are satisfied with the result, merge visible layers
copy / paste as new image and set aside (minimze to tray is a good way)
image => add borders => tick « symmetric » => 30 px white
select the white border with the Magic Wand tool
paste into selection the image set aside
effects => plugins => Virtual Painter 4 / Oil Painting & Stucco (sand)
selections / Invert
effects => 3D effects => drop shadow => 0 / 0 / 80 / 50 / black
selections => select none
copy / paste the main tube and move it to right side (see final result)
layers => merge => merge all (flatten)
apply your watermark & write your licence number if you used a licenced tube
edit = COPY
open Animation Shop => paste as new animation
duplicate 2 times
edit => select all
open the text animation provided
edit => select all
edit => COPY
edit => paste into selected image
place and drop with an left click
save your work as... type .gif

My tag with my tubes and misted image


Don't hesitate to write to me if you have any trouble with this tutorial
If you create a tag (using other tubes than those provided) with this tutorial
and wish it to be shown, send it to me !
It will be a real pleasure for me to add it to the gallery at the end of this translation


created by  Birte Birte


back to the boards of Alyciane’s tutorials
20 tutorials on each board
board 4 => 
at the bottom of each tutorial you will find the arrows allowing you to navigate from one board to another


|