
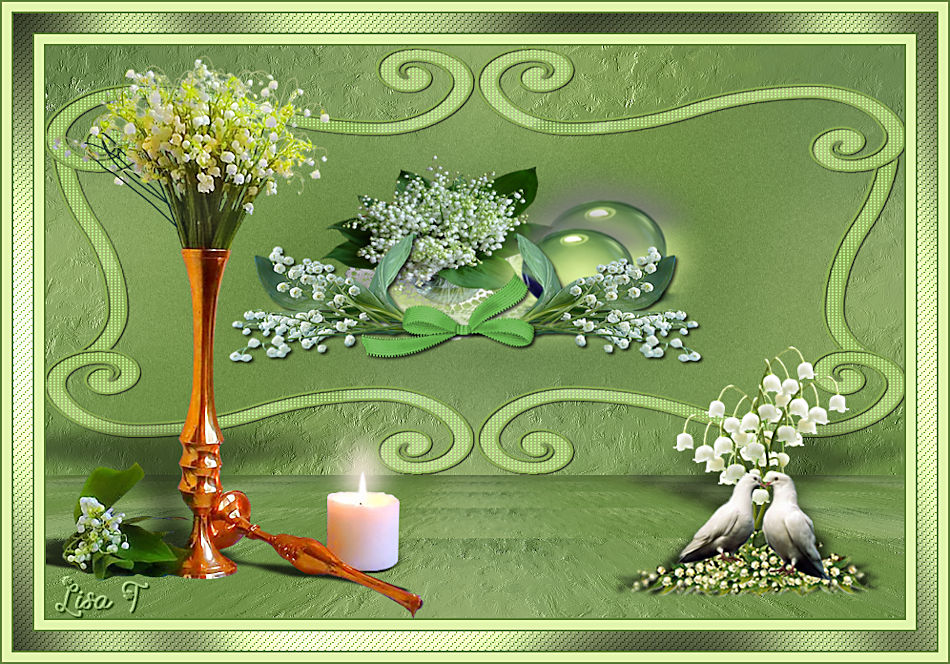
You will find the original tutorial here :

This tutorial is a personal creation.
Any resemblance with another one would be only pure coincidence.
It is stricly forbidden to modify tubes, to change their name or take off the matermarks,
To present them on your sites or blog,
To share them in groups,
to make a bank of images, or to use them on lucrative purposes.

Thank you to respect Alyciane’s work and the tubers work.
Don’t hesitate to warn me if you have any trouble with this translation,
and I’ll try to fix the problem as quickly as I can
XXXXXXXXXX image mail XXXXXXXXX
mailto:lisa.louloute@gmail.com
Alyciane and I work with PSP 2020
but you can follow this tutorial with another version of PSP, however the result might be slightly different

Thank you Garances for testing Alyciane’s tutorials

Supplies
tubes – mask – image – selections – script (folder Scripts - restricted)

main tube is not provided
translator's note : I used one of my tubes (on the left of the tag)
double-click on the preset to install, or import
open the tubes, duplicate, close the originals, and work with the copies
place the selections, gradients, patterns,... provided into the dedicated folders of Corel PSP General folder
open the mask(s) and minimize to tray
TIP 1 -> if you don’t want to install a font -->
open it in a software as « Nexus Font » (or other font viewer software of you choice)
as long as both windows are opened (software and font), your font will be available in your PSP
TIP 2 -> from PSPX4, in the later versions of PSP the functions « Mirror » and « Flip » have been replaced by -->
« Mirror »has become --> image => mirror => mirror horizontal
« Flip » has become --> image => mirror => mirror vertical

Plugins needed
Mehdi – Mur’a’s Meister

colors
translator’s note : I used these colors
color 1 => FG color => #e2f6ae
color 2 => BG color => #8eb054

Use the pencil to mark your place
along the way
hold down left click to grab and move it
 |

Realization
open a new transparent image 900 * 600 px
selections => select all
copy / paste « fond » into selection
selections => select none
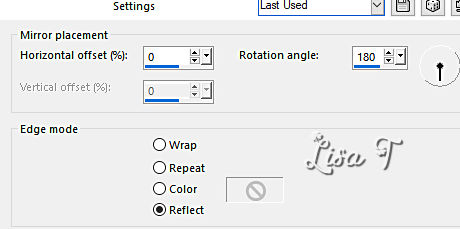
effects => reflection effects => rotating Mirror
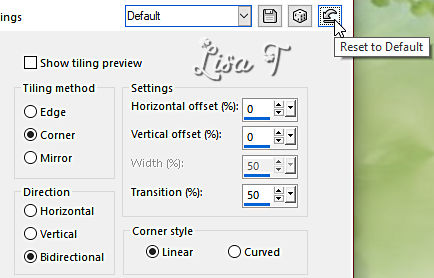
effects => image effects => seamless tiling => default settings
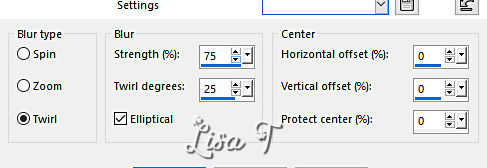
adjust => blur => radial blur
adjust => blur => gaussian blur => 20
layers => new raster layer
flood fill with a dark color – Alyciane chose color #8eb054
layers => new mask layer => from image
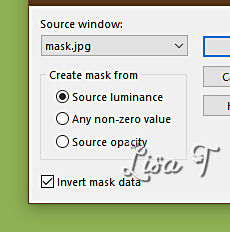
effects => edge effects => enhance
layers => merge => merge group
effects => 3D effects => drop shadow => 1 / 1 / 100 / 1 / black
highlight Raster 1
effects => plugins => Mehdi => Melt => TWICE
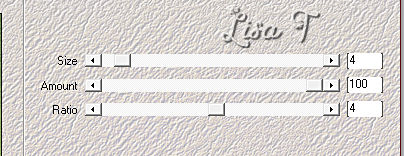
effects => Art Media Effects => brush strokes
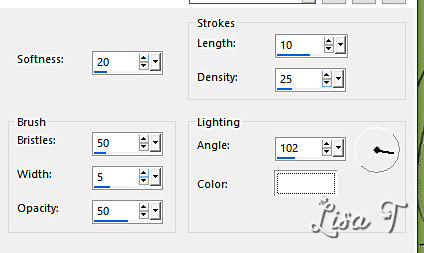
layers => new raster layer
selections => load-save selection => from disk => selection « muguet »
copy / paste « fond » into selection
effects => texture effects => weave
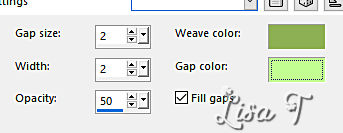
effects => 3D effects => drop shadow => 1 / 1 / 100 / 1 / white
selections => select none
highlight Raster 1
selections => load-save selection => from disk => selection « muguet 2 »
selections => promote selection to layer
adjust => blur => gaussian blur => 20
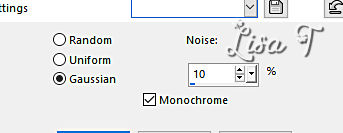
adjust => add-remove noise => add noise
copy / paste « bouquet » as new layer
highlight Raster 1
layers => duplicate
close the eye of the layer
layers => merge => merge visible
selections => select none
edit => cut
enable the Selection tool / custom selection
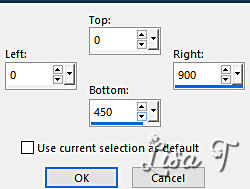
edit => paste into selection
effects => 3D effects => drop shadow => 0 / 0 40 / 40 / black
highlight bottom layer
hit the DELETE key of your keyboard
selections => invert
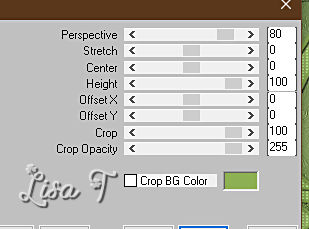
effects => plugins => Mura’s Meister => Perspective Tiling / default settings
layers => merge = merge visible
selections => select none
copy / paste your tubes and drop a nice shadow to each one
apply the script OR
create the frame manually =>... (between*** and ***)
***
image => add borders => tick « symmetric » => ...
2 px dark color
10 px light color
2 px dark color
20 px light color
select inside the 20 px frame with the Magic Wand tool
effects => texture effects => weave ( same settings as previously )
effects => plugins => Graphic Plus => Cross Shadow / default settings
selections => select none
image => add borders => tick « symmetric » => ...
2 px dark color
10 px light color
2 px dark color
***
apply your watermark or signature
write your licence number if you used a licensed tube
save your work as... type .jpeg optimized

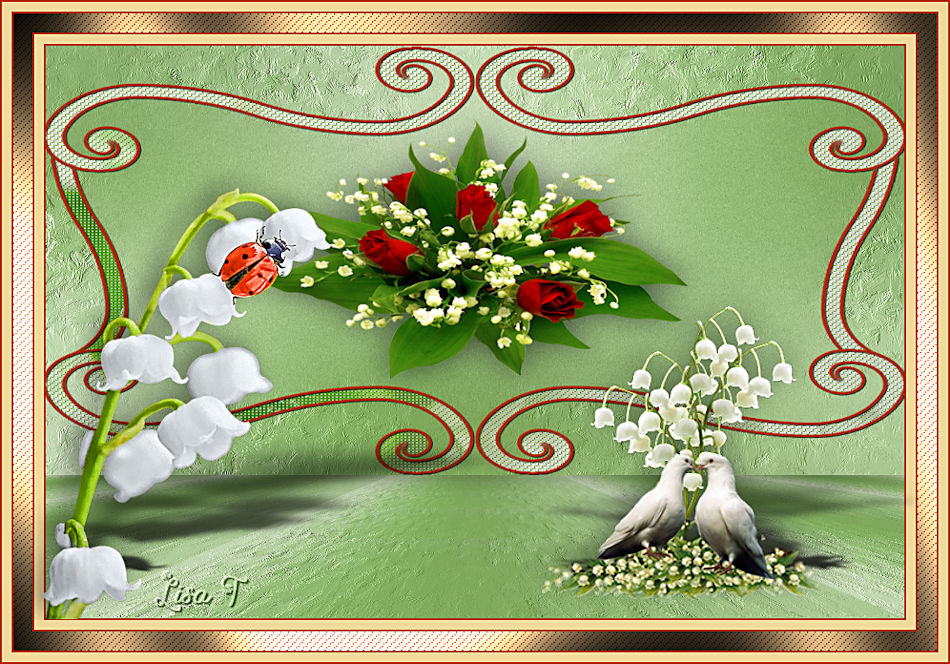
My tag with two of my tubes

Don't hesitate to write to me if you have any trouble with this tutorial
If you create a tag (using other tubes than those provided) with this tutorial
and wish it to be shown, send it to Alyciane !
It will be a real pleasure for her to add it to the gallery at the end of the tutorial


back to the boards of Alyciane’s tutorials
board 1


|